Create Your Own Vape: A Step-by-Step DIY Guide
How to Make Your Own Vape
Unleash Your Creativity with DIY Vaping
For those who enjoy a hands-on approach to their hobbies, making your own vape can be an exciting and rewarding experience. Not only does it allow you to customize your vaping experience, but it also gives you a deeper understanding of how e-cigarettes work. Here's a step-by-step guide on how to make your own vape.
Step 1: Gather Your Materials
Before you begin, you'll need to gather the essential components for your DIY vape. These include:
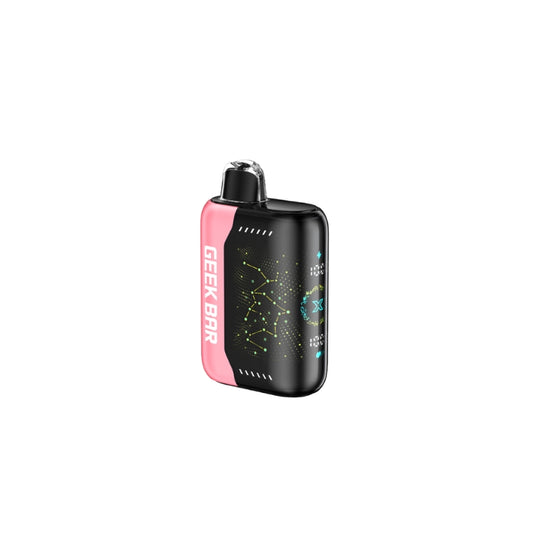
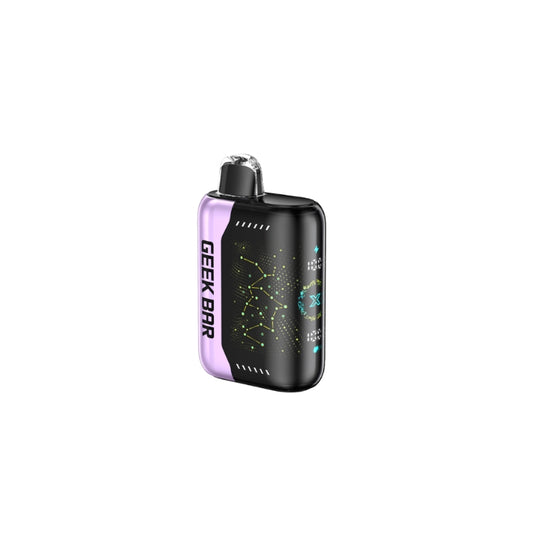
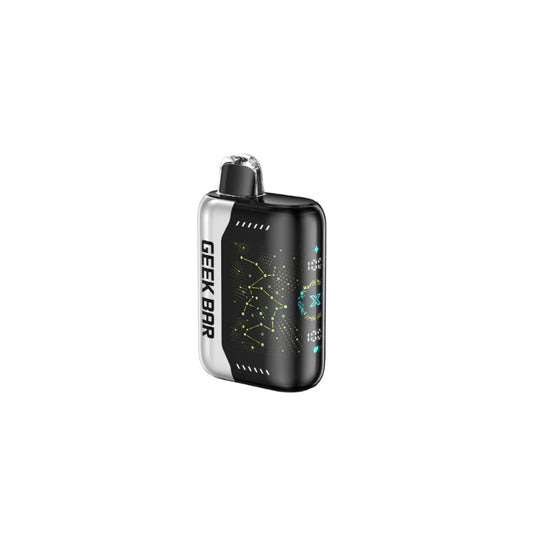
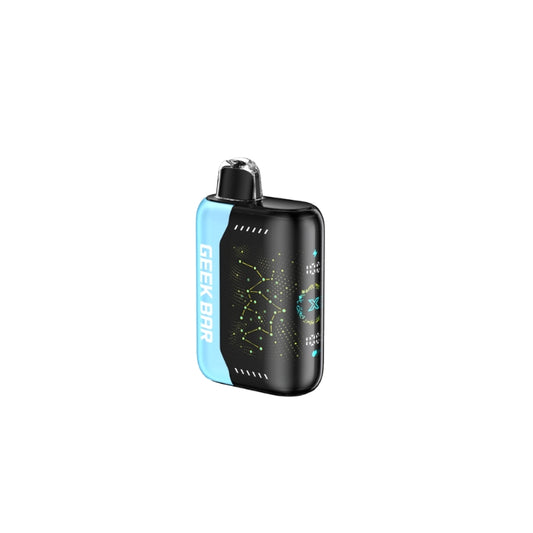
- A vape mod or battery
- A tank or clearomizer
- Coil (compatible with your tank or clearomizer)
- E-liquid of your choice
- Tools such as a screwdriver, pliers, and ohm reader (optional)
Step 2: Choose Your Components
When selecting your components, consider factors such as size, power output, and compatibility. For beginners, a simple pen-style mod or a starter kit with a built-in tank is a good choice. As you gain experience, you can experiment with more advanced mods and tanks.
Step 3: Understand Ohm's Law
Understanding Ohm's Law is crucial for safe and effective DIY vaping. It will help you calculate the appropriate wattage for your coil and ensure that your device operates within a safe range. There are many online calculators available to assist with this.
Step 4: Assemble Your Device
Once you have your components, it's time to assemble your DIY vape. Follow these steps:
- Screw the coil into the tank or clearomizer.
- Fill the tank with your chosen e-liquid, being careful not to get any in the center airflow tube.
- Screw the tank onto the mod, ensuring a secure connection.
- If your mod has adjustable wattage, set it to the recommended level for your coil.
Step 5: Prime Your Coil
Priming your coil is an essential step to prevent dry hits and prolong the life of your wick. To do this, add a few drops of e-liquid directly onto the coil and let it sit for a few minutes to allow the wick to saturate.
Step 6: Adjust Your Airflow
Experiment with the airflow control on your tank to find the perfect balance between vapor production and flavor intensity. Start with a more restricted airflow and gradually open it until you find your preferred setting.
Step 7: Enjoy Your DIY Vape
With your device assembled and your coil primed, it's time to enjoy your custom vaping experience. Remember to start at a low wattage and gradually increase it to find the sweet spot for your coil.
Step 8: Maintenance and Safety
Regular maintenance is key to keeping your DIY vape in top condition. Clean your tank and replace the coil when necessary. Always practice safe vaping habits, such as checking for shorts and not over-discharging your battery.
Conclusion
Making your own vape can be a fun and educational process. By following this guide on how to make your own vape, you can create a personalized device that suits your preferences and enhances your vaping experience. Remember to always prioritize safety and enjoy the process of customizing your device.