Build Your Own Vape: A Step-by-Step Guide to Personalized Vaping Experience
Build Your Own Vape: Crafting the Ultimate Personalized Vaping Experience
Introduction to DIY Vaping
Vaping has evolved beyond just an alternative to traditional smoking. It's now a lifestyle and hobby for many, especially those who build their own vape. This DIY approach allows vapers to customize their devices to suit their preferences, from the type of coil, the amount of e-liquid, to the overall design.
Why Build Your Own Vape?
Creating your own vape offers several benefits:
- Personalization - Design your device to your exact specifications.
- Cost-Effectiveness - Save money by assembling parts as needed.
- Learning Experience - Gain a deeper understanding of vaping technology.
- Customization - Experiment with different e-liquids, coils, and mods.
Step 1: Choose Your Kit
Begin by selecting a vape kit that includes all the necessary components for building your device. A basic kit may contain:
- A mod (battery section)
- A tank (where e-liquid is stored)
- A coil (heating element)
- A rebuildable atomizer (RBA) for advanced users
Step 2: Select Your E-Liquid
E-liquid is the heart of your vape, affecting both flavor and vapor production. Consider factors like:
- Nicotine strength - From 0mg to high-strength options.
- PG/VG ratio - Propylene Glycol (PG) and Vegetable Glycerin (VG) affect throat hit and vapor density.
- Flavor profile - From fruity to tobacco, the choice is vast.
Step 3: Assemble Your Device
Follow these steps to put everything together:
- Attach the tank to the mod.
- Screw in your chosen coil into the tank.
- Fill the tank with e-liquid, avoiding the central airflow tube.
- Prime the coil by adding a few drops of e-liquid directly onto it.
- Screw the tank back onto the mod and turn on the device.
Step 4: Adjust Settings
Customize your vaping experience by adjusting:
- Wattage - Higher wattage generally produces more vapor but can be harsher.
- Airflow - More airflow can create a cooler, smoother draw.
- Temperature - Some mods allow for temperature control settings.
Step 5: Maintain Your Device
Proper maintenance is key to a satisfying vape:
- Clean the tank and coil regularly.
- Replace coils as needed - typically after 1-2 weeks of regular use.
- Keep your device charged and in good working order.
Step 6: Explore and Experiment
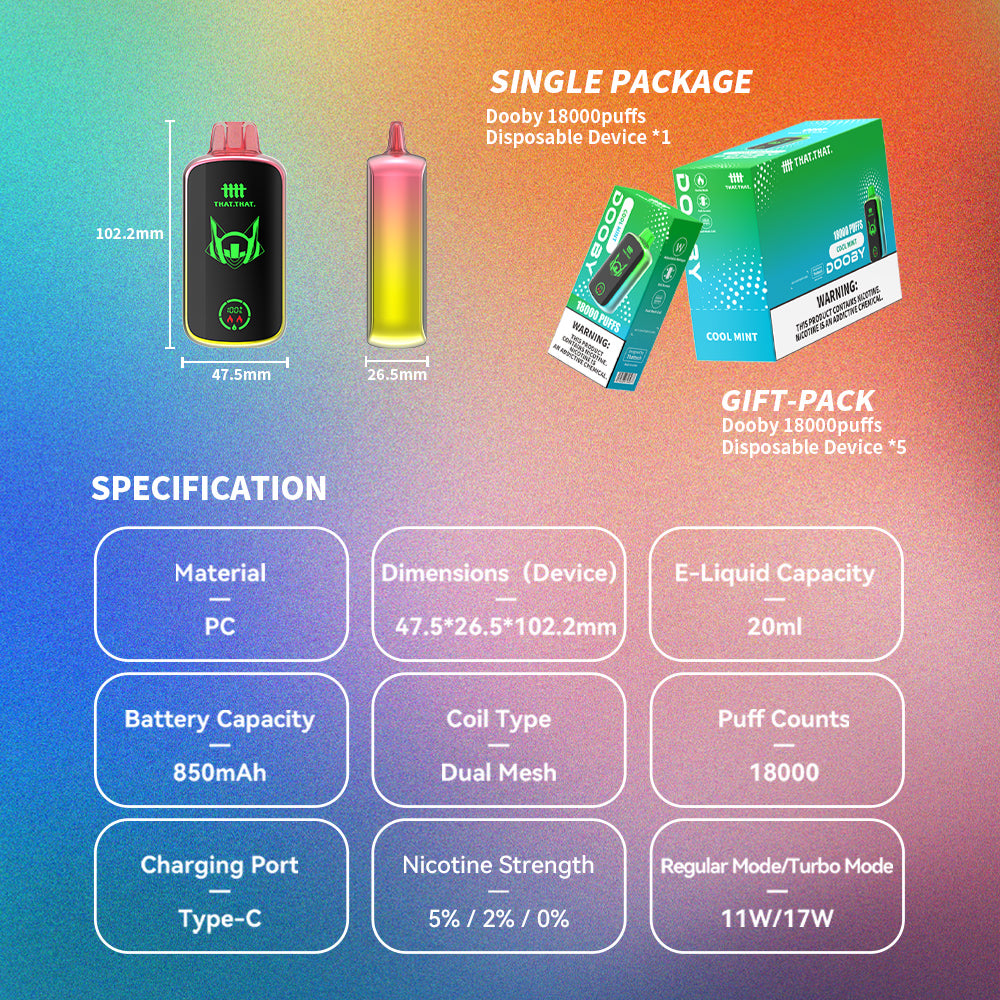
As you become more comfortable with building your vape, experiment with different components and settings. Try new e-liquids from That That Dooby collection, or upgrade to a more advanced mod.
Conclusion
Building your own vape is an exciting journey into the world of personalized vaping. With the right components, some patience, and a willingness to experiment, you can create a device that perfectly suits your preferences. Remember to always use high-quality products from reputable sources like That Vape Club for the best experience.


